Hot Topics:
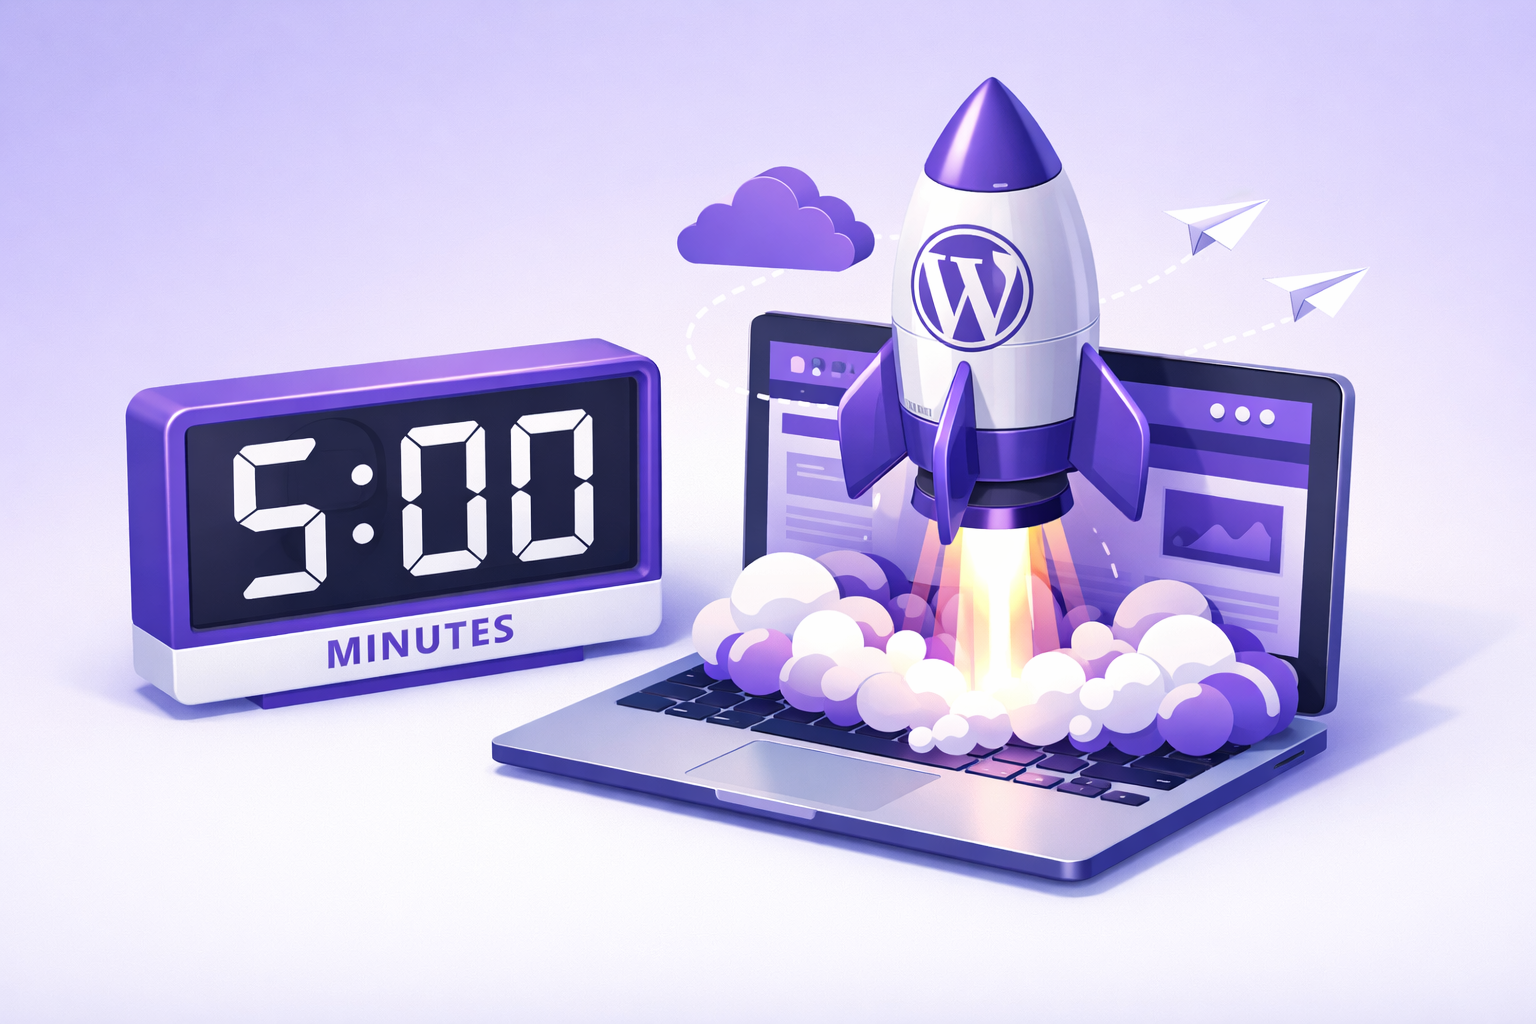
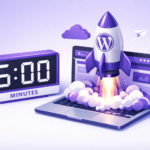
Starting a blog has never been more accessible, yet many beginners still feel overwhelmed by the technical requirements. If you want to build a professional, scalable, and highly optimized website, the combination of WordPress and Hostinger is widely considered the industry standard. In this comprehensive 2026 guide, we will walk you through the exact process of launching your first WordPress blog using Hostinger in just five minutes.
The 2026 Blogging Landscape
The digital landscape has evolved significantly, and the barriers to entry for starting a profitable blog have virtually disappeared. WordPress currently powers over 40% of the entire internet, offering unparalleled customization and SEO capabilities. Meanwhile, Hostinger has completely revamped its user interface for 2026, integrating AI-driven tools that eliminate the need for coding knowledge.
The famous “5-Minute Promise” is no longer a marketing gimmick; it is a reality. Thanks to automated database creation, instant SSL provisioning, and guided onboarding, you can genuinely go from purchasing a plan to publishing your first post in under 300 seconds. This guide is designed to help you navigate that exact workflow efficiently.
Phase 1: Preparation and Domain Selection

Before you click any buttons, you need a clear vision for your digital property. Preparation involves choosing a profitable niche that you are passionate about, whether that is personal finance, travel, or technology. A focused niche helps you target a specific audience, which is crucial for SEO and future monetization strategies.
Your domain name is your digital real estate. In 2026, Hostinger provides an AI Domain Generator that suggests catchy, available names based on your niche keywords. When selecting a domain, aim for something memorable, easy to spell, and ideally ending in .com. Avoid using numbers or hyphens, as they can confuse potential readers and reduce brand trust.
Step 1: Choosing the Right Hostinger Plan

Hostinger offers several tiers of web hosting, but for a new WordPress blog, you only need to focus on the shared and managed WordPress plans. The pricing structure is incredibly competitive, making it an ideal choice for bootstrapped entrepreneurs. For most beginners, the Premium Web Hosting plan provides the perfect balance of cost and performance.
Hostinger 2026 Pricing Comparison
| Plan Name | Starting Price | Best For | Key Features Included |
|---|---|---|---|
| Single | USD 1.99/month | Hobbyists | 1 Website, 10GB Storage, 1 Mailbox per Website |
| Premium | USD 1.99/month | New Bloggers | 3 Websites, 1 Free Domain, 20GB Storage, 2 Mailbox per Website |
| Business | USD 2.99/month | New Bloggers/ Growing Sites | 50 Websites, 1 Free Domain, 50GB Storage, 5 Mailbox per Website |
| Cloud Startup | USD 6.99/month | Well Established Sites | 100 Websites, 1 Free Domain, 100GB Storage, 10 Mailbox per Website |
Simple Explanation: The Premium plan is the “sweet spot” because it includes a free domain name for the first year, saving you an immediate USD 10-15. Detailed Explanation: If you anticipate rapid growth or plan to upload high-resolution media frequently, upgrading to the Business plan grants you ObjectCache integration and a Content Delivery Network (CDN), which drastically improves global loading speeds.
Step 2: Account Creation and Secure Checkout

Once you have selected your plan, click “Add to Cart” to proceed to the checkout page. You will need to choose a billing period; selecting the 48-month term secures the lowest monthly rate, though 12-month and 24-month options are also available. Hostinger offers a 30-day money-back guarantee, providing a risk-free environment to test their services.
Creating your account is straightforward. You can use your email address or connect via Google or Facebook for faster access. Hostinger supports a wide array of payment methods, including major credit cards, PayPal, and various cryptocurrencies. After a successful payment, you will be redirected to the hPanel, Hostinger’s proprietary, user-friendly control panel.
Step 3: The AI Setup Wizard (New for 2026)
The most significant update to Hostinger in 2026 is the introduction of the intelligent Onboarding AI. When you log into your hPanel for the first time, click the “Setup” button next to your hosting order. The wizard will ask you a series of simple questions, such as “Who are you creating the website for?” and “What type of website is it?”

By selecting “Myself” and “Blog,” the AI automatically configures server settings optimized for publishing content. It will then ask you to select your preferred Content Management System (CMS). You must select WordPress, as it provides the most flexibility for SEO and long-term growth compared to basic drag-and-drop builders.
Step 4: Installing WordPress via Auto-Installer

Gone are the days of manually creating MySQL databases and configuring wp-config.php files. Hostinger’s Auto-Installer handles the entire backend setup in a single click. You will be prompted to create your WordPress administrator credentials.
Make sure to use a professional email address and generate a strong, alphanumeric password. These credentials are what you will use to log into your WordPress dashboard (usually located at yourdomain.com/wp-admin). Store this password securely in a password manager, as brute-force attacks are a common threat to weak administrator accounts.
Step 5: Connecting Your Domain
If you chose the Premium or Business plan, you will be prompted to claim your free domain name during the setup wizard. Simply type in your desired domain, check its availability, and register it directly within the hPanel. Hostinger will automatically link the domain to your new WordPress installation.
If you purchased your domain from a third-party registrar (like Namecheap or GoDaddy), you will need to point your domain to Hostinger’s nameservers. You can do this by logging into your registrar and updating the custom nameservers to:
ns1.dns-parking.comns2.dns-parking.comNote: DNS propagation can take anywhere from 10 minutes to 24 hours, though in 2026, it is typically resolved within minutes.
Step 6: Essential Post-Installation Settings
Security and speed are the two pillars of a successful blog. Immediately after installation, Hostinger will automatically install a Let’s Encrypt SSL Certificate. This changes your website URL from http:// to https://, adding a crucial padlock icon in the browser that builds trust with your readers and satisfies Google’s security requirements.

Next, ensure that the LiteSpeed Cache plugin is active. Hostinger servers run on LiteSpeed technology, which is significantly faster than traditional Apache servers. The LiteSpeed plugin communicates directly with the server to serve cached, lightning-fast pages to your visitors, greatly improving your Core Web Vitals scores.
Step 7: Designing Your Blog with AI Themes
Your blog’s design is the first thing visitors notice. In 2026, Hostinger seamlessly integrates with lightweight, highly customizable themes like Astra and GeneratePress. During the onboarding process, the AI can even generate a custom template based on a brief text description of your niche.

If you prefer manual control, log into your WordPress dashboard, navigate to Appearance > Themes, and click “Add New.” Look for themes that are labeled as “mobile-responsive” and “accessibility-ready.” You can customize your site’s colors, typography, and layout using the WordPress Customizer without writing a single line of CSS code.
Step 8: Installing “Must-Have” Plugins
Plugins are essentially apps for your WordPress website, extending its functionality. While it is tempting to install dozens of plugins, doing so can slow down your site. Stick to the absolute essentials when launching your first blog.
Here are the top three must-have plugins for a new 2026 blog:
- RankMath SEO: A lightweight, highly effective SEO plugin that guides you in optimizing your posts for target keywords.
- Wordfence Security: A robust firewall and malware scanner that protects your site from malicious login attempts.
- UpdraftPlus: An automated backup plugin that saves copies of your website to remote storage like Google Drive or Dropbox.
Step 9: Creating Your Core Pages
Before you start writing blog posts, you need to establish the foundational pages of your website. These pages build authority and provide essential information to your readers and search engines. Navigate to Pages > Add New to create these assets.

- About Page: Share your story, your expertise, and the mission of your blog. This is crucial for establishing E-E-A-T (Experience, Expertise, Authoritativeness, Trustworthiness).
- Contact Page: Provide a simple contact form (using a plugin like WPForms) so readers and potential sponsors can reach you.
- Privacy Policy: A legal requirement in most jurisdictions. WordPress includes a draft template you can customize and publish immediately.
Step 10: Launching Your First AI-Assisted Post
With your foundation built, it is time to publish your first piece of content. Navigate to Posts > Add New to open the Gutenberg Block Editor. This native WordPress editor allows you to build visually appealing articles by stacking “blocks” of text, images, and videos.

In 2026, you can leverage AI writing assistants directly within the WordPress ecosystem to help outline or draft your content. However, always ensure you inject your unique voice, personal experiences, and high-quality formatting. Use clear H2 and H3 subheadings, bullet points, and relevant multimedia to keep readers engaged.
SEO Best Practices for New Blogs
Search Engine Optimization (SEO) is how you drive free, organic traffic from Google. One of the first things you must do is change your Permalink structure. By default, WordPress might use a messy URL format. Go to Settings > Permalinks and select Post name.
Change from: yourdomain.com/?p=123Change to: yourdomain.com/your-target-keywordWhen writing your articles, naturally include your target keywords in the H1 title, the introductory paragraph, and sprinkled logically throughout your H2 subheadings. Use your RankMath plugin to ensure your meta titles and meta descriptions are compelling and perfectly sized for search engine results pages.
Performance Optimization & Maintenance
A fast blog is a successful blog. Google penalizes slow websites, so ongoing maintenance is critical. Hostinger simplifies this by offering automatic core WordPress updates directly from the hPanel. Always keep your plugins, themes, and WordPress core updated to patch security vulnerabilities and improve performance.
Simple Explanation: Check your dashboard once a week and click “Update” on any plugins that have new versions available. Detailed Explanation: Periodically run your website through tools like Google PageSpeed Insights. If your site slows down, clear your LiteSpeed cache, optimize your images using WebP formats, and delete any plugins or themes you are no longer actively using.
Conclusion & Success Roadmap
Launching your first WordPress blog using Hostinger in 2026 is an incredibly streamlined process, taking only minutes to complete thanks to intuitive AI wizards and automated installers. By choosing the right plan, securing your domain, and configuring essential plugins, you have laid a professional foundation for your digital brand.
Brief Summary of Key Points
- Hosting: Hostinger’s Premium plan (USD 2.99/mo) offers the best value with a free domain and 100GB of storage.
- Setup: Use the 2026 Onboarding AI and Auto-Installer to deploy WordPress in one click.
- Security & Speed: Always activate your free SSL certificate and LiteSpeed Cache plugin immediately.
- Growth: Focus on writing high-quality content, optimizing your permalinks for SEO, and maintaining site health through regular updates.
Your next step is consistency. Commit to a realistic publishing schedule, learn the basics of keyword research, and slowly explore monetization options like affiliate marketing or display ads as your traffic grows.
Frequently Asked Questions
1.Can I upgrade my hosting plan later?
Absolutely. All the beginner hosts I recommend allow you to seamlessly upgrade from a basic shared plan to a more powerful plan with a single click as your website traffic grows.
2.Do I have to buy my domain and hosting from the same company?
No, you do not. However, keeping them together is usually much easier for beginners, as it removes the technical step of pointing DNS records from a third-party domain registrar to your new host.
3.Is free hosting worth it for a beginner?
I strongly advise against completely free hosting. They typically force you to display their ads on your site, offer terrible server speeds, provide zero customer support, and can delete your website without warning. Paying USD 1.00 to USD 3.00 a month is a small price for total control and reliability.
4.Is WordPress the right choice for beginners?
For many beginners, WordPress offers a friendly balance of ease-of-use and extensibility. If you want the simplest path, start with a host that offers one-click WordPress.
5.What is the best hosting for absolute beginners in 2026?
I recommend starting with Hostinger for balance or IONOS for ultra-low entry pricing, then reassessing after a few months as your site grows.